Thursday, 8 December 2011

Post 1: Conventions of Opening Sequence

Our task is to make the opening titles for a film, this means that its important that I research the conventions of opening titles in order to see what i should use and what i shouldn't.

One film that i researched was the film, 25th Hour, Directed by Spike Lee. The film is a crime drama about a man who is going to prison in 24 hours and in that time needs to reevaluate his life.
  • The opening titles show different vistas of New York City with minimal movement in each shot, all with out a single pony in sight. this is to show the theme of prison and being on your own that the movie is about.
  • Through the opening titles its uses very dark and cool colours, this is to apmlify the negative tone and mood of the film.
  • The titles have a non-diegetic soundtrack of an orchestral choir score, which is used to reflect on the tone of the film.

The other film i researched was the film Super, directed by James Gunn. The film is a black comedy about a man who turns himself into a masked vigilante after a devine intervention, in order to get his wife back from a drug dealer.
  • The titles are presented with very fast and jumpy hoof drawn animation quality in order to set a mood for the film, it also shows the comic book inspiration that the plot has and is based on.
  • The colours that are used are all very bright and eyecatching, reflecting on the lighthearted mood of the film.
  • In these titles it introduces all of the characters, showing that there isn't an element of mystery around the film.
  • Through the titles it shows the dark comedy tone of the film with people being killed in funny and lighthearted ways.
  • The non-diegetic soundtrack consists of a fast and vibrant pop rock sont which is used to further set the tone of the film.

From these two scenes in particular and a few others from http://www.artofthetitle.com/ i can see that the main conventions of a opening sequence are that - 
  • They introduce the characters and the actors playing them, unless its a film that contains mystery.
  • They introduce the setting.
  • They set the tone of the film through visual codes such as colour and light and audio code soundtrack.
  • They reflect the theme of the film.
  • They show the names of the main people who were involved with the creation of the film, for example the director and producer.

Post 9: Evaluation

Our project “Vanilla" met the brief of a short film clip that shows someone walk into a room and sit down, whilst keeping good continuity and complying by the 180° rule. Although we did meet these criteria we also edited the film together with great precision and used both diegetic and non-diegetic sound
One shot that we used in our film clip was the match on action shot. This shot can be difficult to do due to continuity and timing. Over all I felt that we edited the clip together very well. I feel this way because on the shot where Harrison opens the door we managed to get the match on action to the very frame of him knocking on the door. This gave us a very good out come of a smooth shot that would have ended up looking jumpy if we were to do it wrong. Another reason why our match on action shot worked was because of the angles that we used whilst shooting it. For our first shot we used an establishing long shot that allowed the character to walk up to the door and knock, it then cut to a medium shot from the other side where Ron Gilbert invites him in and opens the door. One thing that we had to be careful of with this shot was that we needed to make sure that what I was wearing was the same each time. This included details such as creases in clothing and also the lighting on me. We got around any potential errors by shooting it back to back with the first establishing shot.

One thing that we used in our clip was a cross dissolve transition. The reason why we used this was to cover up some poor camera work. Our initial problem with the shot was that when it panned whilst following Harrison it was very shaky and didn't successfully centre him in the end of the shot. When we came to editing we managed to add a cross dissolve just before the moment of bad camera work. This meant that we missed it and also it gave the effect of passed time, an effect that we didn't initially want but after we put it in we preferred it and felt that it added more sophistication and variety to our piece.

One thing that we thought would be a problem was the diegetic sound of students and staff. We got around this problem by shooting during lessons whilst all of the students tend to be quiet and contained in their class rooms. Another precaution we took was that we filmed in a room that was away from any class rooms. This was because even if the students were being noisy and disruptive it wouldn't have effected us and our diegetic sound.

Monday, 28 November 2011

Post 8: Production Report

In our production we chose our location to be the abandoned deputy head office. The reason why we chose this location over the original Kings Meeting Room was because the Kings Room was occupied during the time of filming. This meant that we had to find another similar area that wouldn’t be affected by poor lighting, poor sound and poor safety. Luckily we found this in an abandoned office that also happened to agree with our mise-en-scene, only after a little time searching, meaning that we didn't loose very much production time.

We filmed our scenes during period 3, 4 &5 which were good because it meant that all the other students in the school were in lessons and therefore weren’t making noise and interrupting our sound.

For our scenes we finished up with a total of about 8 minutes of footage in which we used about 7 different camera shots. One of the shots we used was a long establishing shot. The reason why we used this shot is because we wanted to get the audience introduced to the environment and the characters. It also gave us a good way to get the audience eased into the narrative. Another camera shot we used was a medium close up. The reason why we chose to use a medium close up is so that we were easily able to capture what a character was feeling with his facial expression and body language. One problem we had when we were shooting this particular shot was that we had difficulties fitting the actors into the frame how we wanted them. This was quite tedious because it meant that we had to retake a few shots. We had to retake some of these shots because if we didn’t we would have had to use the poor quality shots we originally took, therefore making it look very unprofessional.

Thursday, 10 November 2011

Post 7: Additional Pre-Production Documentation

Before we start filming there is alot more work that we must do inorder to make sure that our production is sucessful and safe.

Risk Assessment:


Location Recce:

Post 4: Script Writing

 All films need a script, from documentaries to science fiction. A script helps us to understand the order of our narrative, the actors movements and what's happening in frame. It will be very useful to us because it will give us some guidelines for our piece.

This is our script.


Script Annotations:
Hugo: For the opening of our piece we will shoot both sides of the door in order to get the best sound and match on action. This is so that our piece flows a lot smoother and isn't jumpy.

Connor: For the over the shoulder shot reverse shot we will have to keep the camera in the same place on either side. This is in order to keep to not only the rule of continuity but also the 180° rule. This is so that its not too jerky for the viewer.

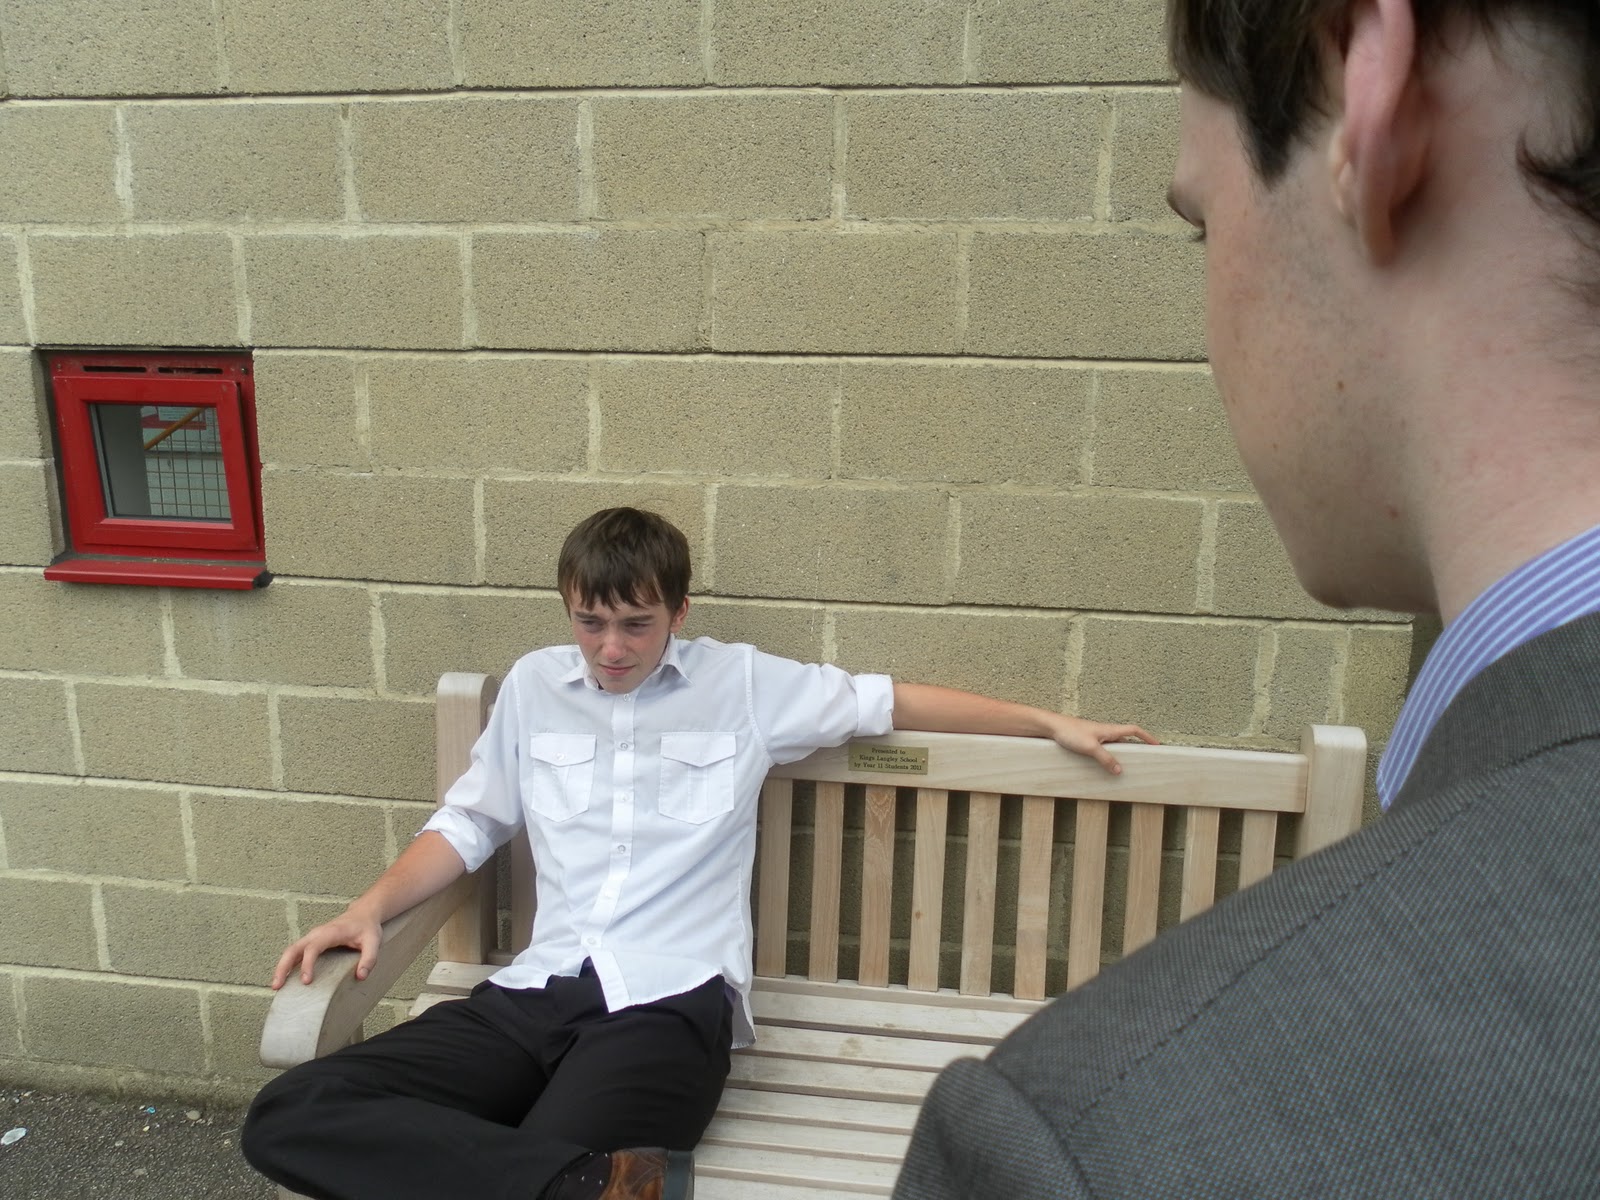
John:  We used a  low camera angle on our second shot of Harrison, it showed him as a character with status although during the interview it is the interviewer Ron Gilbert is the one with the power where he asks personal an pressuring questions.

Monday, 31 October 2011

Post 6: Shot List and Storyboard

 Storyboards and shot lists are very similar to a script but they're very useful because they give a more detailed and visual guide than the information that the script gives us.

Shot List:
Story Board:


Monday, 17 October 2011

Post 5: Jump Cuts, Over-The-Shoulder Shots, Cutaways and Point Of View Shots

These are some of the terms that I will be hearing alot of that's why I need to know them for when i'm making and editing my piece.

Jump Cuts: A jump cut is a transition between two shots which appears to "jump" due to the way the shots are framed in relation to each other. Jump cuts are usually caused by framing which is quite similar.


Example of a jump cut.


Over-The-Shoulder Shot:
In film or video, an over the shoulder shot (also over shoulder, OS, OTS, or third-person shot) is a shot of someone or something taken from the perspective or camera angle from the shoulder of another person. The back of the shoulder and head of this person is used to frame the image of whatever (or whomever) the camera is pointing toward. This type of shot is very common when two characters are having a discussion and will usually follow an establishing shot which helps the audience place the characters in their setting. It is an example of a camera angle.
http://en.wikipedia.org/wiki/Over_the_shoulder_shot
Emaple of an over the shoulder shot


Point of View (POV):
A point of view shot (also known as POV shot or a subjective camera) is a short film scene that shows what a character (the subject) is looking at (represented through the camera). It is usually established by being positioned between a shot of a character looking at something, and a shot showing the character's reaction (see shot reverse shot). The technique of POV is one of the foundations of film editing.
http://en.wikipedia.org/wiki/Point_of_view_shot

Example of a POV shot.


A small video made by us demonstrating all of the different shots mentioned.
Video Link